Picture, mirror & shelf hanging across San Diego
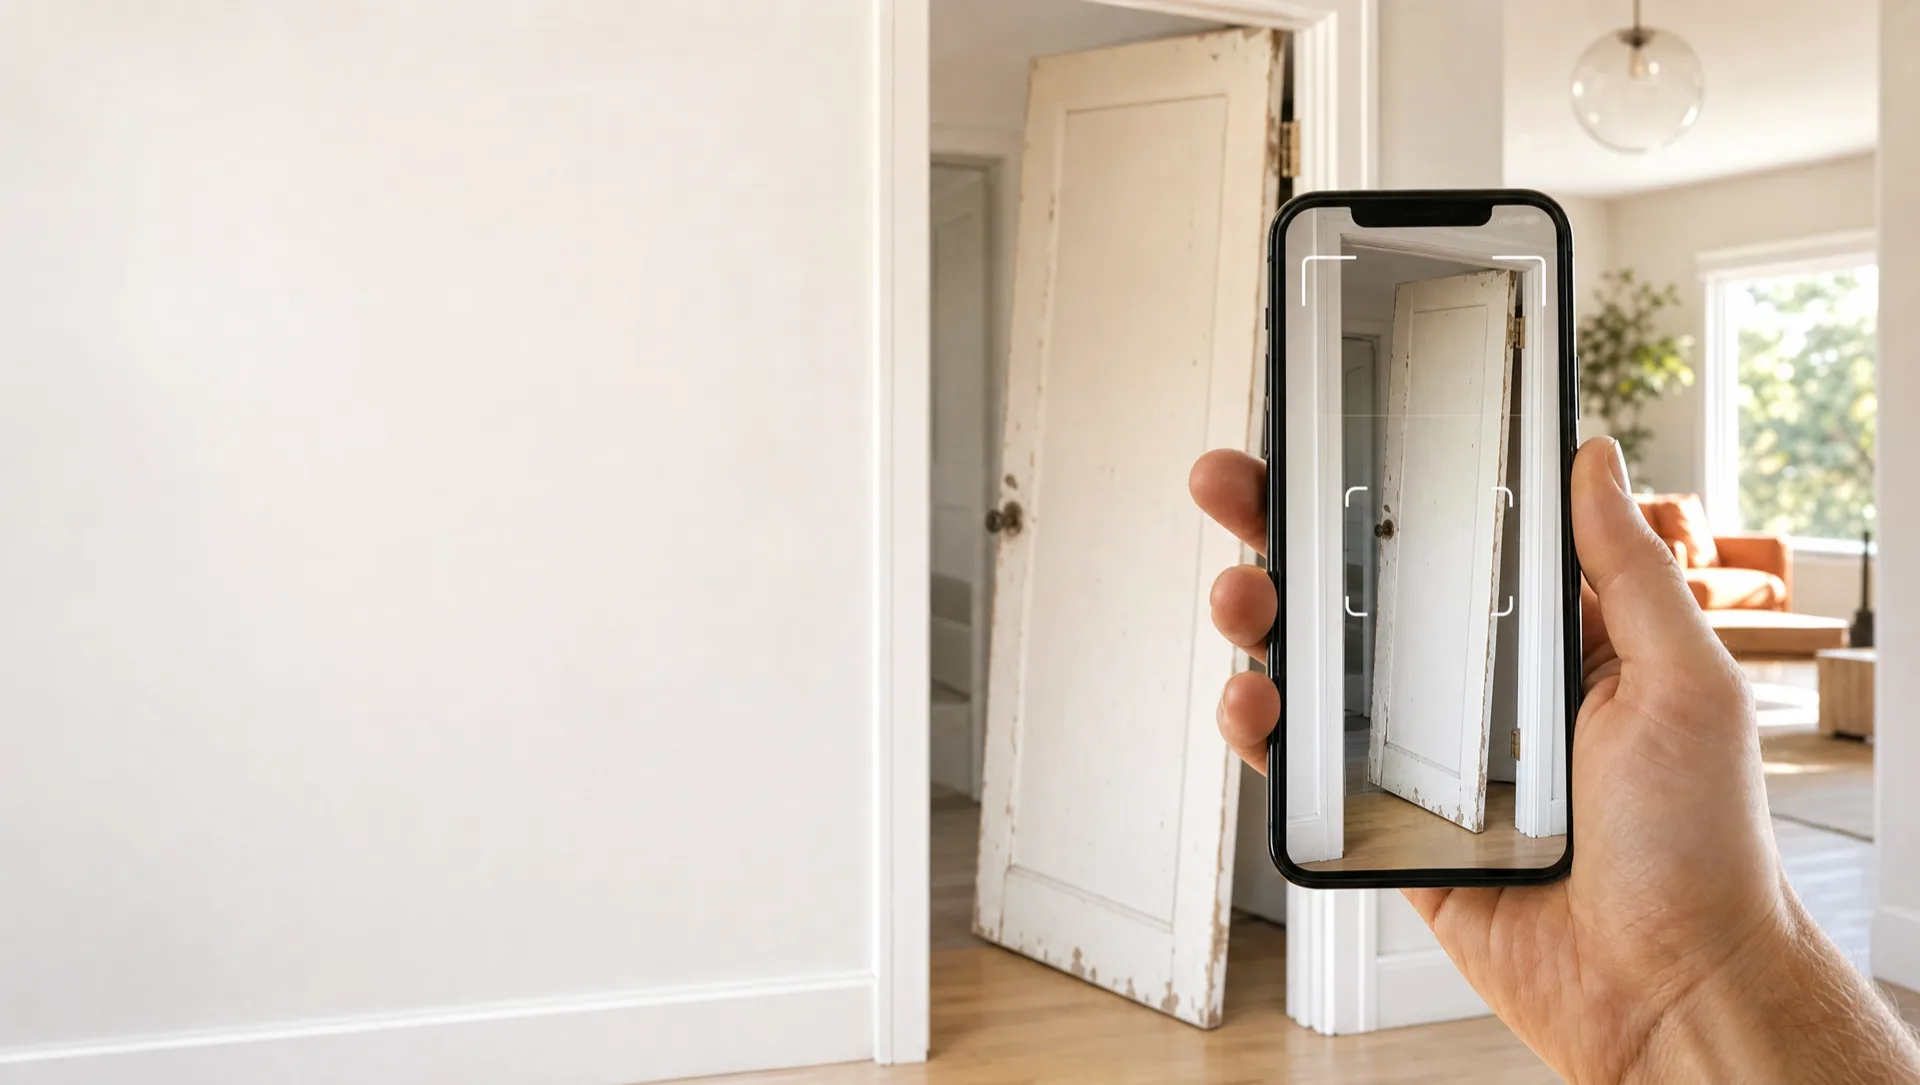
Hanging things straight, evenly spaced, and into something that'll actually hold them is harder than it looks — especially heavy mirrors and floating shelves. Easy Break does it right: we find the studs, use the correct anchors for the weight, and laser‑level everything so your gallery wall lines up and your shelves stay put. One trip, no extra holes, no crooked frames.
From a single piece of art to a full feature wall, plus closet systems and curtain rods, we handle the hanging so your new place comes together fast.
What we hang & install
- Pictures, framed art & canvases — single pieces to full gallery walls
- Heavy & frameless mirrors — anchored securely
- Floating shelves & wall shelving
- Closet systems & organizers (incl. wire and ELFA‑style)
- Curtain rods, blinds & window treatments
- Coat racks, hooks, whiteboards & wall décor
Picture hanging & shelving prices in San Diego
We price by the job so you know the cost upfront — send a photo of the wall and the items.
| Service | What's involved | Price |
|---|---|---|
| Hang a few pieces | Up to ~3 frames/items, leveled | from $79 |
| Gallery wall | Layout, spacing & hang multiple frames | from $149 |
| Heavy mirror | Stud/anchor mount, leveled | from $99 |
| Floating shelves | Per shelf, anchored level | from $89 |
| Closet system / curtain rods | Per project | text for quote |
Boxes of art to hang?
Text a photo of the wall & pieces — price & same‑day slot back fast.
Level, spaced & anchored to hold
The difference between a pro hang and a DIY one is in the details: consistent spacing, dead‑level frames, and the right fixing for the wall — studs where we can, heavy‑duty toggle or molly anchors where we can't. Heavy mirrors and loaded shelves get hardware rated well above their weight, so they're safe for years.
Why San Diego chooses Easy Break
- Laser‑level layouts — gallery walls that line up
- Right anchors for the weight — nothing sags or falls
- Upfront fixed pricing from a photo
- Same‑day & next‑day across San Diego County
- Licensed, insured & 90‑day workmanship guarantee
Areas we serve
Picture hanging & shelving throughout San Diego County, including:
Picture hanging & shelving FAQ
How much does it cost to hang pictures in San Diego?
Can you hang a heavy mirror so it won't fall?
Do you install floating shelves and closet systems?
Can you lay out a gallery wall for me?
Do you also hang curtain rods and blinds?
Anchor weight ratings — the cheat sheet we work from
Almost every hanging failure we get called to fix is the same root cause: the wrong anchor for the load. Here is the honest hierarchy we use, smallest to strongest:
- 3M Command strips — 1–16 lb, art only, and only on flat painted drywall (they peel right off textured walls and matte paint). Good for a framed print up to about 11×14, not for a real mirror.
- Standard plastic expansion anchor (the white cone Home Depot sells in a bag) — rated 5–10 lb in real‑world drywall. We avoid these for anything we care about; they spin in the hole the moment something pulls down on them.
- Hilti HLD plastic anchors — better self‑drilling drywall anchors at 30–50 lb if the wall is clean 1/2" gypsum. Honest medium‑duty pick.
- Wall Driller / E‑Z Ancor — self‑drilling threaded anchors, 30–50 lb, fast install. Good for small shelves and frames between studs.
- Toggler Snaptoggle BB — our default for anything serious between studs. Rated 50 lb (1/8" version) up to 265 lb (3/8" version) in 1/2" drywall. The plastic strap pulls a steel channel flat behind the wall — proper toggle bolt without the fall‑inside‑the‑wall mess.
- Lag bolt directly into a stud — 100+ lb easy. The gold standard whenever we can find wood behind the wall.
- French cleat into two studs — 100+ lb per anchor, distributes load across the wall plate. What we use for heavy mirrors, china cabinets and floating credenzas.
For brick we run Tapcon 3/16" × 2‑3/4" screws with a 5/32" pilot in the mortar joint (not the brick face — mortar is softer and stays sealed). For concrete or block we step up to Hilti HUS3 self‑tapping concrete screws.
Wall type matters more than the anchor
San Diego has every wall type, often in the same house. We identify what we are drilling into before we open the anchor pack:
- Drywall — 1/2" residential standard since the 1970s; everything in the cheat sheet above applies directly.
- Lath‑and‑plaster — most pre‑1960 homes in Hillcrest, Mission Hills, Kensington, North Park, South Park, Burlingame, La Mesa Village. Much harder than drywall. We drill on slow speed with a masonry bit through the plaster, then a wood bit through the lath, then set a Snaptoggle in the cavity. Hammer drills crack plaster — slow speed only.
- Plaster‑over‑clay‑tile — common in original Coronado bungalows and a few Mission Hills Spanish‑style homes. Drills like brick. Tapcons, slow speed, no impact.
- Brick and concrete — Tapcons or Hilti HUS3, pilot first.
- Tile — diamond bit, slow speed, no hammer mode, painter's tape on the drill point to stop the bit walking. Then anchor into whatever is behind the tile.
Finding studs — the real answer for each wall type
Cheap edge‑detecting stud finders drift, calibrate wrong on textured walls, and miss studs under metal corner bead. We carry one tool: the Franklin ProSensor 710. It uses 13 sensors at once and lights up the whole face of a stud as you slide across — no calibration, no edge guessing, no false reads on the seam. The Zircon HD55 still works, but it's a generation behind.
On lath‑and‑plaster, no electronic stud finder works reliably because the lath itself reads as wood every 3/8". The honest method: a strong rare‑earth magnet (StudPop or CH Hanson stud finder magnet) sticks to the drywall nails that hold lath to studs. Find one nail, drop a plumb line, mark the stud. Studs in older homes are also frequently not on 16" centers — find one, then measure to the next; don't assume.
French cleats for heavy mirrors and cabinets
Anything over about 40 lb that needs to come down for repainting (mirrors, big framed art, china cabinets, floating media consoles) goes on a French cleat. We rip a 1×4 cedar or pine board at 45° on a table saw, screw the wall half into two studs (level critical — the cleat sets the level of the piece forever), and glue/screw the matching half onto the back of the mirror or cabinet. The piece slides down over the cleat and locks. To re‑paint, lift it off, no anchors disturbed. A two‑stud French cleat holds 100+ lb without breathing hard.
Floating‑shelf weight reality — the brackets lie
The marketing on floating shelves talks about weight ratings as if the load sits centered on the bracket. In practice, books and decor live at the front edge of the shelf, and the further forward the weight, the more leverage on the wall anchor. A Knape & Vogt KV concealed bracket rated 50 lb at 12" depth will fail at around 30 lb of concentrated weight at the front of a 16" shelf. We tell you the honest derated number for your specific shelf and what's going on it. Shelfology Holdrite brackets are stiffer (real 3/8" or 1/2" steel rods welded to a plate) — those rate honestly because they don't deflect.
Gallery wall layout — the paper template method
You don't free‑hand a gallery wall. The pattern we use:
- Lay every frame on the floor in front of the wall and arrange the composition until it reads right (look at it from across the room, not standing over it)
- Trace each frame onto craft paper or newsprint, mark where the hanger sits on the back of each frame, transfer that mark to the paper template
- Painter's‑tape the paper templates to the wall in your layout, step back, adjust until it sings
- Center the composition around a single horizontal sightline at 57" to center (museum standard); keep 2–3" between frames
- Drive each anchor through the paper at the mark, tear the paper off, hang. Frames land exactly where the layout said.
We laser‑level with a Bosch GLL3‑330CG (green beam, three planes) or a Hilti PM 4‑M on bigger walls. Final check with a Stabila type 196 or an Empire 36" magnetic.
Closet systems — ELFA, FastTrack and which one fits your space
The wall‑hung modular systems all work on the same principle: a top track hangs from studs and the whole system hangs from the track. Get that top track wrong — out of level, anchored in drywall instead of stud — and the whole closet sags. The systems we install most:
- Container Store ELFA — wall‑hung, track‑based, light to medium loads. Great for walk‑in closets, kid rooms and pantries. We have to measure first because ELFA standards must land on studs (not adjustable like rail systems).
- Rubbermaid FastTrack — heavier rail, hooks for bikes and surfboards, made for garages. Our default for SD garage organization.
- ClosetMaid ShelfTrack — budget wire shelving, fine for reach‑in closets, fast to install.
- Vela — premium custom closets, more carpentry than handyman work, but we install the components.
Edge cases we run into across San Diego
- Heavy chandelier swap on plaster ceiling — original ceiling boxes are not rated for modern statement fixtures. Before hanging anything over 50 lb, we add a Westinghouse SAF‑T‑BRACE through the attic and re‑mount the box to it. We do this before the new fixture arrives.
- Steel‑stud commercial walls (some downtown condos, La Jolla high‑rises) — drywall over light‑gauge steel studs. Never tek‑screw straight into the steel face for art; the head spins off and the load pulls the screw through. We S‑curve a Snaptoggle into the cavity instead.
- Coastal salt‑air corrosion (Coronado, OB, La Jolla) — bare steel toggles corrode in a few years. We use stainless toggles on coastal homes.
- Mid‑century plaster ceilings with no attic above (some North Park duplexes) — no way to add a brace from above; we open the ceiling, add blocking between joists, patch.