Wallpaper & accent walls across San Diego
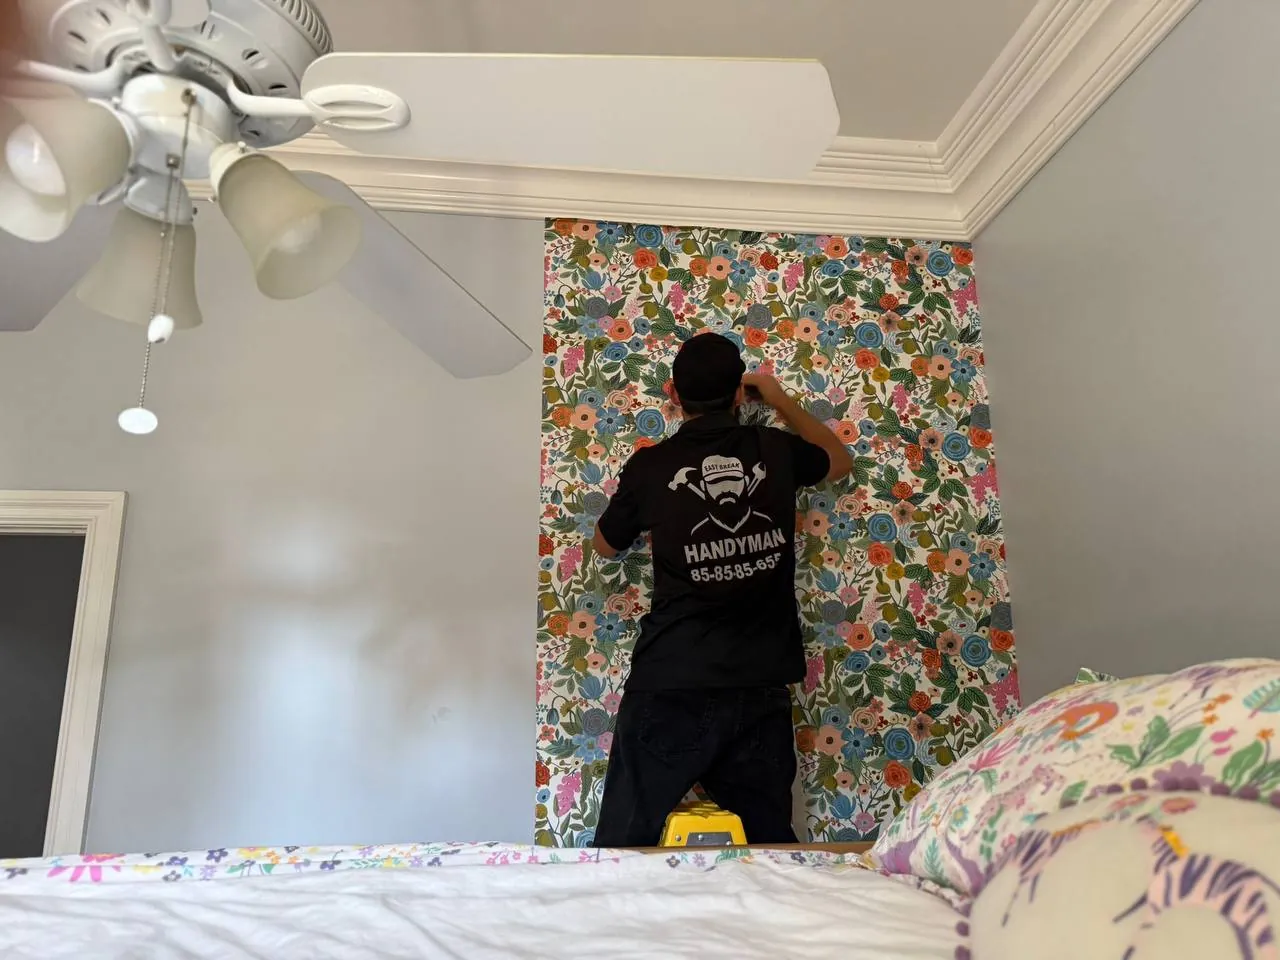
An accent wall is the highest‑impact, lowest‑cost upgrade in a room — and the one most likely to go wrong as a DIY. Easy Break does it clean: wallpaper and mural hanging, wood‑slat (fluted) walls, board‑and‑batten, and peel‑and‑stick feature walls. We've built statement walls behind beds, headboards, fireplaces and mounted TVs all over San Diego.
The difference is in the prep and the layout. We prep and smooth the wall, plan the pattern match, plumb every seam and slat, and cut tight around outlets, switches and trim so the finished wall looks built‑in, not stuck on. Want a TV on the new accent wall? We'll mount it and hide the cables in the same visit.
Feature walls we create
- Wallpaper hanging — traditional, pre‑pasted & non‑woven
- Murals & large‑format prints — panel‑matched
- Wood‑slat / fluted accent walls
- Board‑and‑batten & picture‑frame molding
- Peel‑and‑stick feature walls (rental‑friendly)
- Old wallpaper removal & wall prep
Accent wall pricing in San Diego
Pricing depends on the wall size, material and pattern, so we give a fixed price from a photo and rough dimensions. Typical starting points:
| Service | What's involved | Price |
|---|---|---|
| Wood‑slat accent wall | Fluted/slat panels, level & trimmed | from $299 |
| Wallpaper hanging | Per wall, pattern‑matched | from $299 |
| Board‑and‑batten wall | Battens, caulk & paint‑ready | from $369 |
| Mural / large‑format | Panel‑matched install | free estimate |
| Old wallpaper removal | Strip, clean & prep wall | from $99 |
Got a wall in mind?
Text a photo of the wall and the look you want — we'll send a fixed price.
Pair it with a TV mount or lighting
Most accent walls we build end up with a TV or sconces on them. Because we're a full handyman service, we can build the wall, mount the TV with hidden cables, and add lighting in one trip — no juggling three different pros.
Why San Diego picks Easy Break
- Upfront pricing from a photo
- Wallpaper, murals, slat & batten walls
- Plumb seams, tight cuts around outlets & trim
- We can mount a TV & hide cables on the new wall
- Licensed, insured & 90‑day workmanship guarantee
Areas we serve
Wallpaper & accent walls throughout San Diego County, including:
Wallpaper & accent wall FAQ
How much does an accent wall cost in San Diego?
Do you supply the wallpaper or do I?
Can you remove old wallpaper first?
Will the seams and pattern line up?
Can you build an accent wall behind my TV and mount the TV?
Wallpaper types — decoded
The word "wallpaper" covers five very different products that install five different ways. We pick the right one for the room and the wall before we order anything.
- Paste‑the‑wall (non‑woven) — the modern standard for most premium murals and panel‑print designs. Paste goes on the wall (not the paper), paper hangs dry. Easier to position, less mess, dimensionally stable. Brands: York Wallcoverings, Brewster, Milton & King, Rebel Walls.
- Peel‑and‑stick (self‑adhesive) — Tempaper, Magnolia Home self‑adhesive, Spoonflower Peel & Stick. Easy to install, easy to remove, rental‑friendly. Bubbles on textured walls every single time — needs an L4 smooth finish or a skim coat first.
- Traditional pre‑pasted — older format, dip the panel in water to activate paste. Still fine, slightly more forgiving on pattern slip than paste‑the‑wall.
- Grasscloth (natural fiber) — gorgeous tactile material, but seams are visible by design, dye lots vary panel to panel, and it stains permanently with moisture. Not for bathrooms or behind a sink. Phillip Jeffries and similar.
- Vinyl / Type II commercial — durable, scrubbable, the right call for kitchens, baths, kid rooms and hallways with traffic. Heavier paste needed (Roman R‑35).
- Custom digital mural — Photowall, Drop It MODERN, custom Spoonflower; you upload art, they print and ship in custom‑sized panels with overlap allowance.
Wall prep — why orange peel kills a wallpaper job
Wallpaper telegraphs every flaw in the wall behind it. Most of our actual install time is prep:
- Sand any satin or gloss paint dull (220 grit), so paste has a key
- Fill nail holes and skim‑coat over any orange peel, knockdown or texture — wallpaper over texture looks lumpy from across the room, and peel‑and‑stick won't adhere to texture peaks at all
- Skim coat to a Level 4 (L4) finish with joint compound, sand, prime
- Apply wallpaper primer — Roman R‑35 heavy‑duty acrylic primer/sizing, or Sherwin‑Williams Acrylic Universal Primer. Sizing seals the wall, fills micro‑pores, and gives the paste something to bite into. It also lets you slide the paper into position before it grabs.
- 24‑hour cure before paste goes on; rushed primer = bubbles at the seams within a week
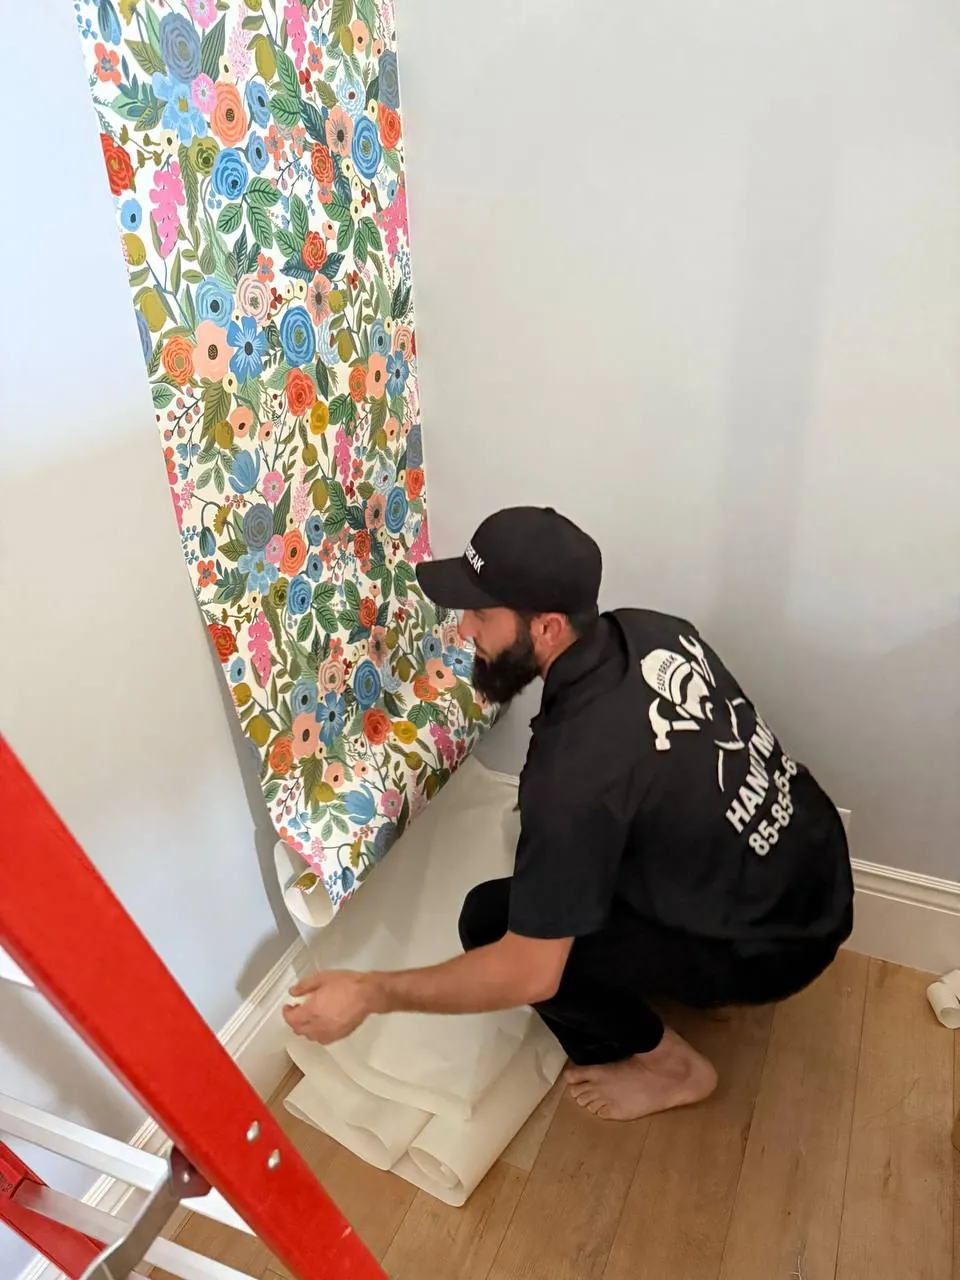
Mural panel hanging — the double‑cut seam method
A 9'×12' mural usually ships as three or four panels with 2" overlap printed at each seam. The clean way to join them:
- Hang panel one plumb (laser line; we use the Bosch GLL3‑330CG)
- Hang panel two with the printed overlap landing exactly over panel one's right edge
- Take a sharp snap‑blade rotary cutter or fresh utility knife, run it down the center of the overlap zone with a metal straight‑edge — cutting through both layers at once
- Peel the trim strip off panel two; peel panel one's overlap strip out from underneath
- The two cut edges butt perfectly (because they were cut as one line)
- Smoothing brush (we use a Yvonne Pro Brass Smoother) from center out, seam roller down the joint, dab any lifted edge with a thin line of Roman 880 clay paste
Removal — score, soak, peel, scrape
Removing old wallpaper without ripping the drywall paper face is a sequence:
- Score the paper with a HYDE wallpaper scoring tool (perforates the face without cutting into the drywall)
- Spray with Roman R‑77 stripper mixed with hot water; let it sit 15 minutes; re‑spray
- Peel from a top corner; use a 6" wide knife (not a 1" putty knife — wider = less gouging) to lift stubborn sections
- For vinyl that refuses to release, rent a wallpaper steamer from Home Depot (~$50/day); steam loosens the adhesive on heavy commercial vinyl
- Wash the wall down with TSP substitute to neutralize residual paste; prime before painting or re‑papering
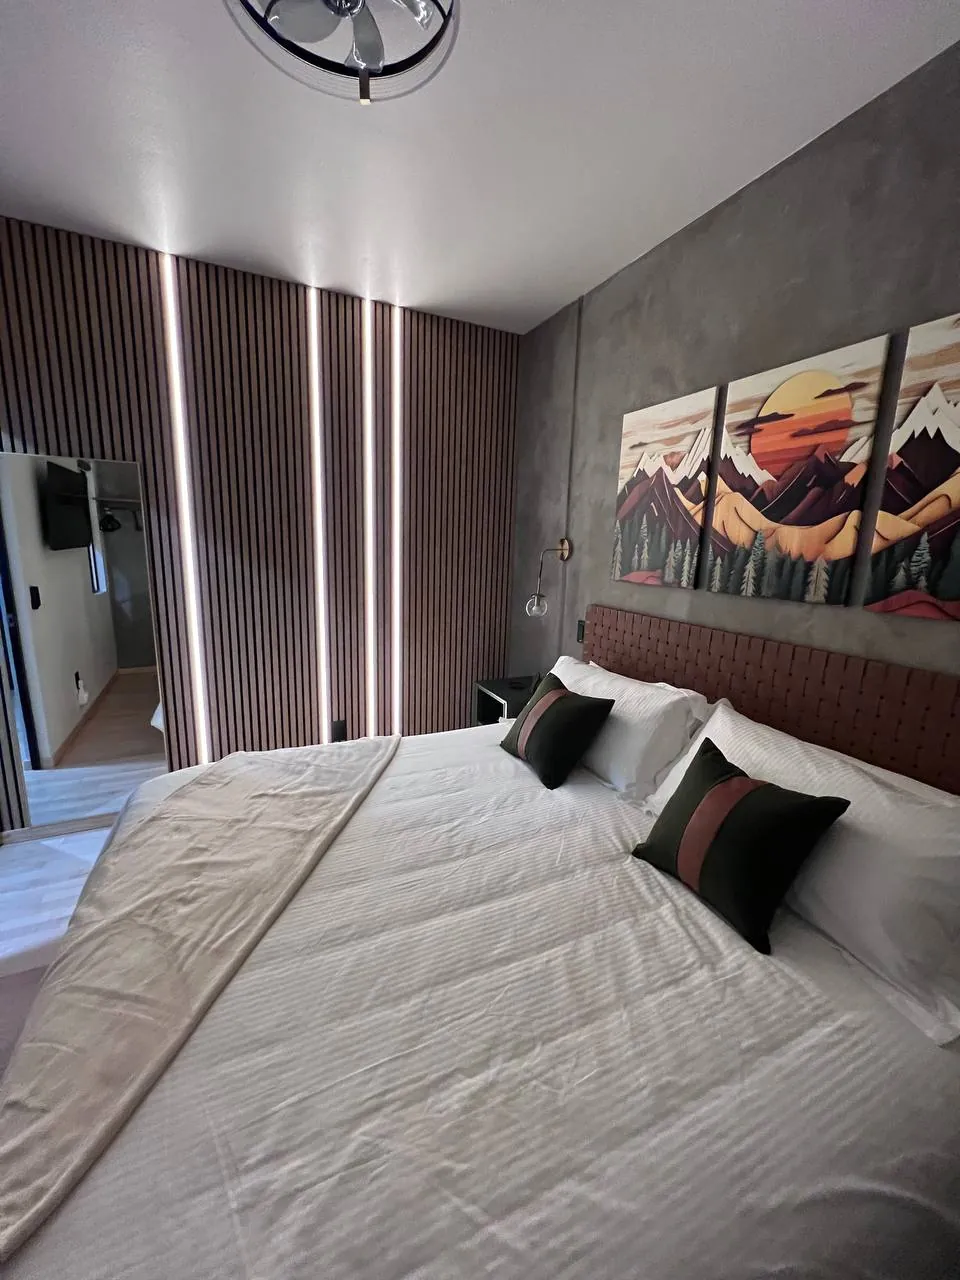
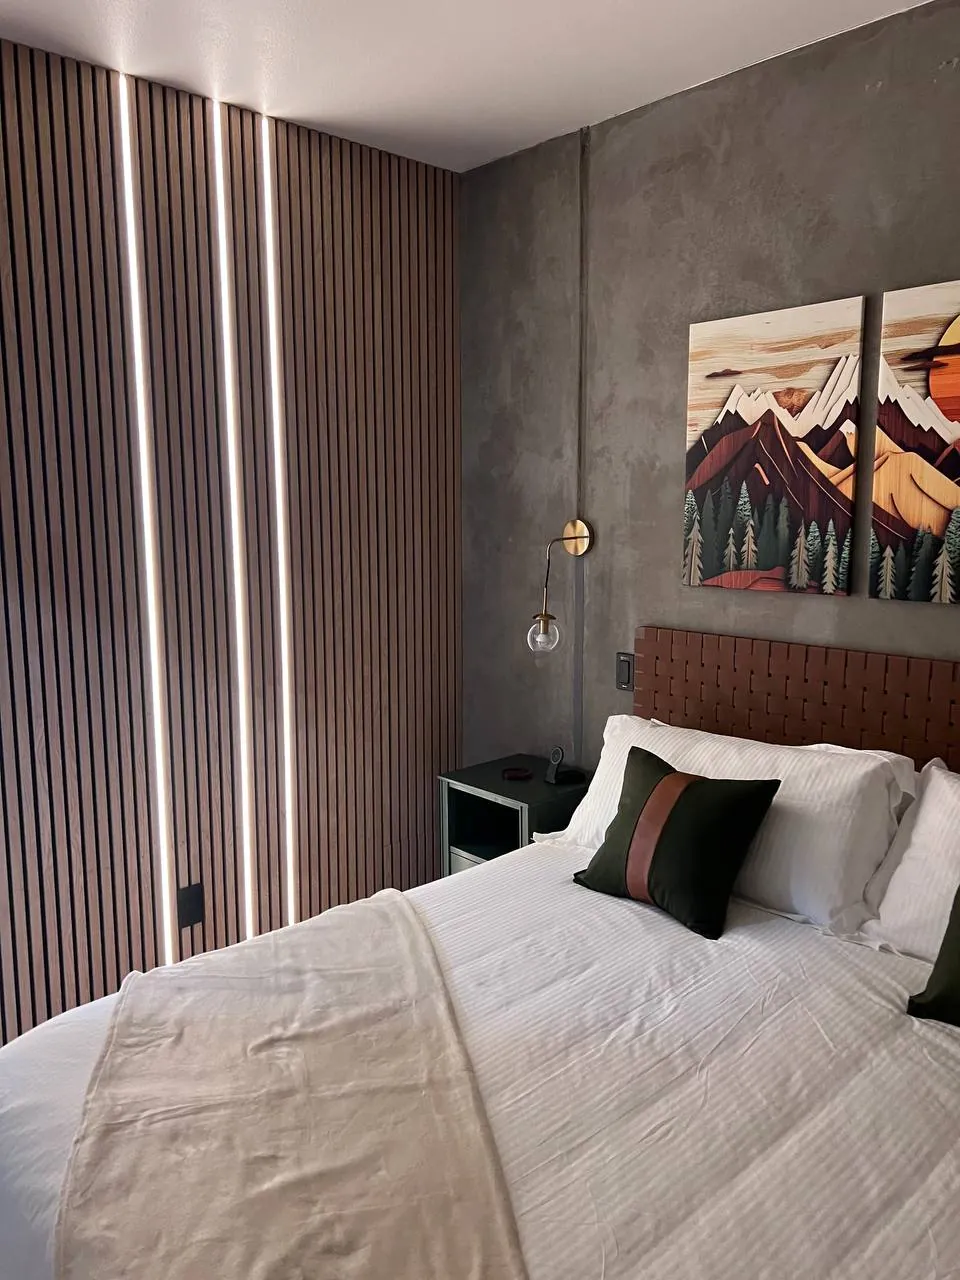
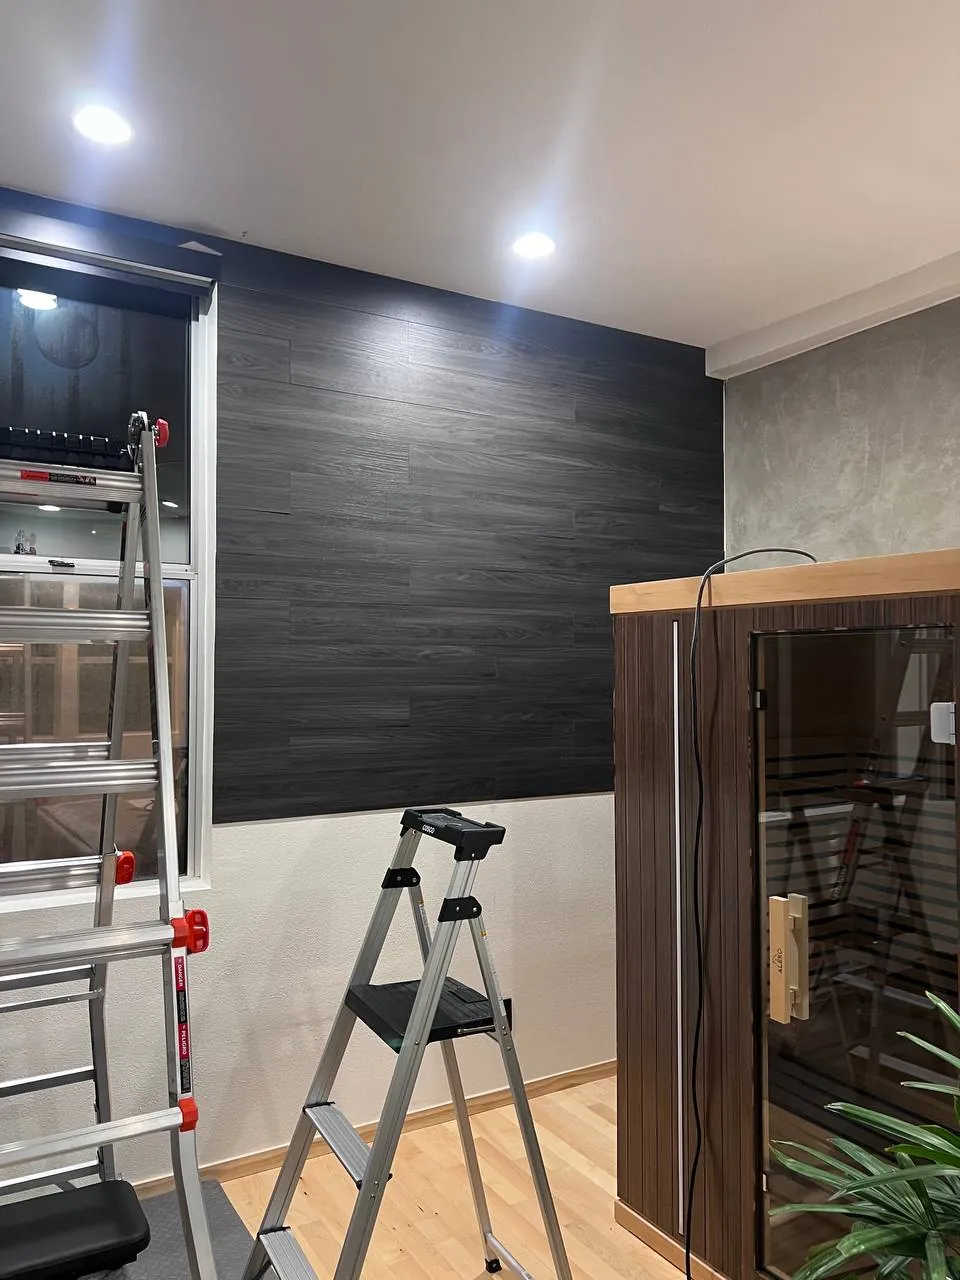
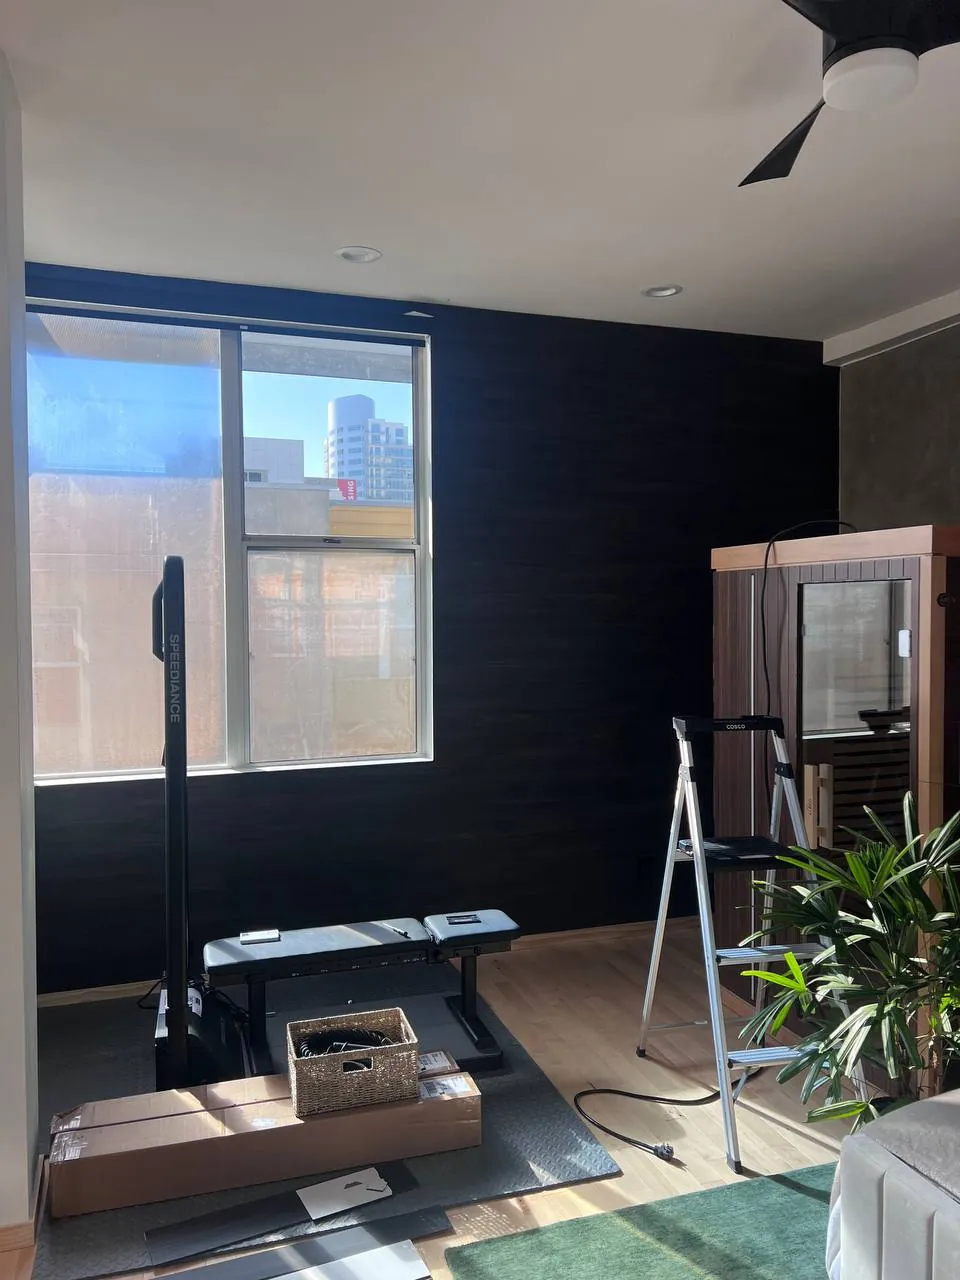
Slat walls (REKO‑style) — install method and finishes
Wood slat walls are the most common "accent wall" request we get right now. Two ways to build them:
- Pre‑made acoustic slat panels (REKO Slovakian premium, Forna, Lobby & Lounge, FauxSlats US) — slats bonded to a black felt backer; cut to size, French‑cleat to the wall, trim the edges. Cleaner install, premium look, more expensive material.
- Site‑built slats — we rip 3/4" MDF or solid pine to 1.5"–2" widths, paint on sawhorses with an HVLP sprayer (brush leaves marks on the side faces), then plumb each slat to a laser line and fasten with 18‑gauge 1.25" pin nails through the face into the wall studs or blocking. Spacing is typically 5/8" or 3/4" between slats for the "REKO‑style" look — we use a scrap spacer to keep it consistent.
The popular slat finishes in San Diego right now: Sherwin‑Williams Tricorn Black SW 6258 (the matte black you see on every Instagram bedroom), Iron Ore SW 7069, Urbane Bronze SW 7048, and Dunn‑Edwards Coal Mine DE6386. For natural wood slats we recommend white oak with Rubio Monocoat Pure or Bona Naturale waterborne finish.
Board‑and‑batten — the math no one wants to do
Board‑and‑batten looks simple until you space the battens unevenly and the wall reads off forever. The process:
- Measure the wall width, subtract the end‑cap battens, divide by your target on‑center spacing (typically 12–18"), and adjust the spacing math until every gap is identical (don't leave the last gap short — eyes catch that immediately)
- Install top rail and chair rail first; battens fit between them
- 3/4" thick × ripped 1×3 battens for a chunky look, or 1/2" × 1‑1/2" for a refined look
- Construction adhesive on the back of each batten plus 18‑ga brad nails (not pin nails — battens take impact)
- Caulk every gap with DAP Alex Plus paintable; fill nail holes; sand; prime; topcoat
- Paint after install — trying to install pre‑painted battens leaves scuffs at every seam
Popular paint colors for the dark moody board‑and‑batten look: Sherwin‑Williams Naval SW 6244, Tricorn Black, Iron Ore, Hale Navy by Benjamin Moore.
Around outlets, switches and trim
The detail that separates a pro install from a DIY: outlets and switches. We kill power at the breaker, pop the cover plate off, hang the wallpaper or panel over the rough opening, then trim back with a fresh snap‑blade right at the edge of the metal box. Cover plate goes back on and conceals the cut. The opening behind the plate looks clean — no torn paper, no white sliver showing. Same approach around door and window casing: we run the wallpaper full‑width and trim to the trim edge in place, not pre‑cut.
Edge cases
- Kid's room mural — peel‑and‑stick fabric (Spoonflower Peel & Stick or Tempaper) is the right call; in 4 years when the dinosaur theme is out, it pulls clean off without damaging the drywall
- Bathroom moisture — vinyl wallpaper or grasscloth sealed with matte polycrylic; never untreated paper near a shower
- Textured walls — there is no shortcut. Skim coat to L4 first, even for peel‑and‑stick. Don't let anyone tell you otherwise.
- Heavy mirrors / TVs over a slat wall — we build the slat wall with hidden plywood blocking behind the slats where the TV mount lands, so the lag bolts hit wood without splitting a slat
What we don't do
We don't hang commercial Type II vinyl wallcovering at hotel or office scale — that's a different setup (60" wide rolls, scaffold work, contract pricing). We don't disturb suspected pre‑1979 wallpaper paste without an asbestos test first — old paste in pre‑1979 SD homes can contain asbestos, and the test runs $25 and takes a week. And we don't tile over wallpaper in bathrooms — we strip the wallpaper, prep the wall, and start clean.